If you love potatoes, then this is the recipe for you. I could literally eat potatoes all day, everyday. But to make it a little healthier, this recipe adds in a few twists!

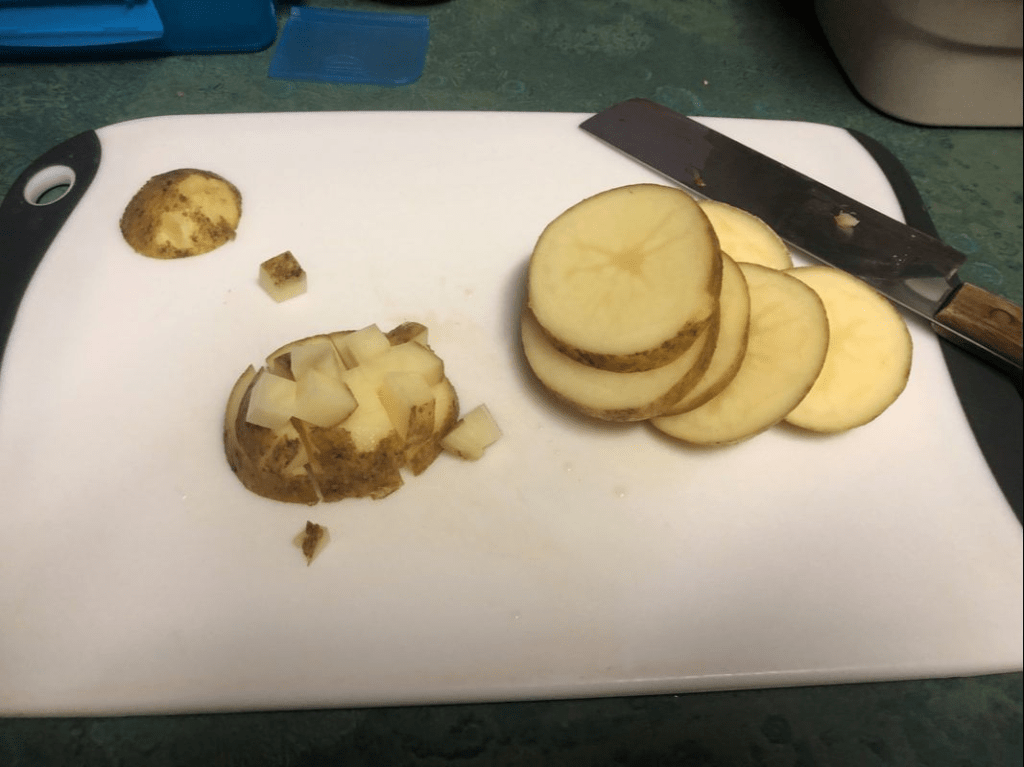
Step 1: Dice your choice of potatoes (sweet or russet [I personally haven’t tried with white or red ones, but I’m sure that’d be delicious as well]).
I put these photos and step in here not because I don’t think you know how to dice a potato, but I learned I was cutting potatoes very unsafely. Especially sweet potatoes which tend to be a bit tougher. My mom taught me to first slice them into rounds and then dice them!
Step 2: Gather your ingredients and prep (This seems redundant, but I promise it will save you time later and you can thank me later ;).
You will need a handful of kale washed (I use a lot because they wilt down), 1/4 of an avocado sliced, and 1 egg (or 2 if you’re feeling extra hungry).
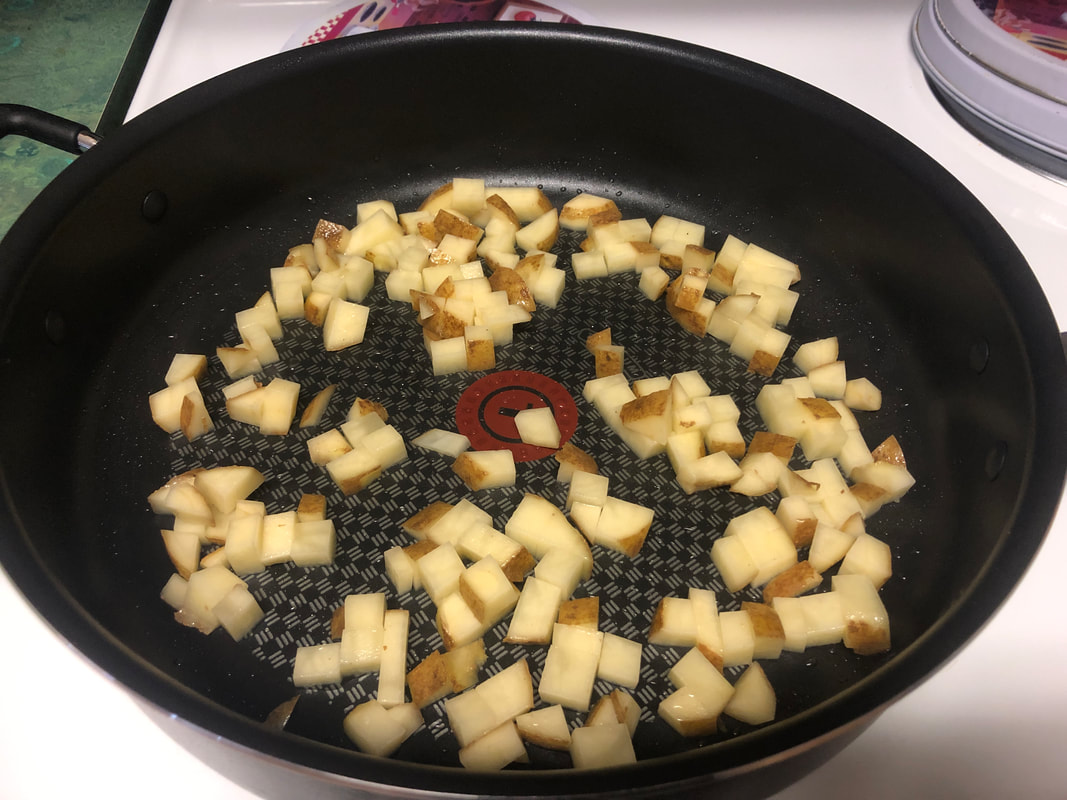
Step 3: Oil the pan (coconut oil if you’re using sweet potatoes, vegetable oil if you’re using russet).
I recommend pairing the oils with the potatoes this way because the flavor really compliments each other. I have tried cross testing and this was the best combination (trust me). You will need enough oil to toss the potatoes in.

You will let these cook until they are thoroughly cooked through. You can put a lid on to speed up the process, but it is not necessary!
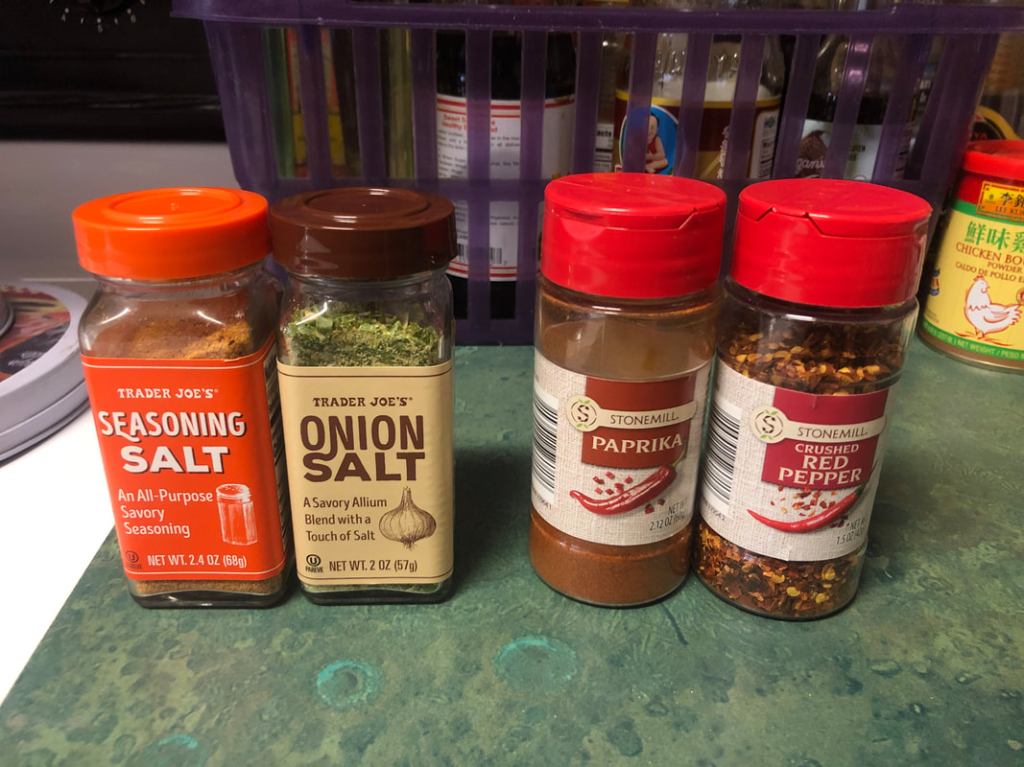
Step 4: Season accordingly (for sweet potatoes: paprika and red pepper, for russet: a combination of all four).
These are the best pairings I found for the potatoes. You can obviously test on your own, this is just what I like. If you don’t have the two seasonings from Trader Joe’s on the left, you can easily substitute with garlic powder and salt. Season to your liking, I don’t measure, I just kind of coat them.

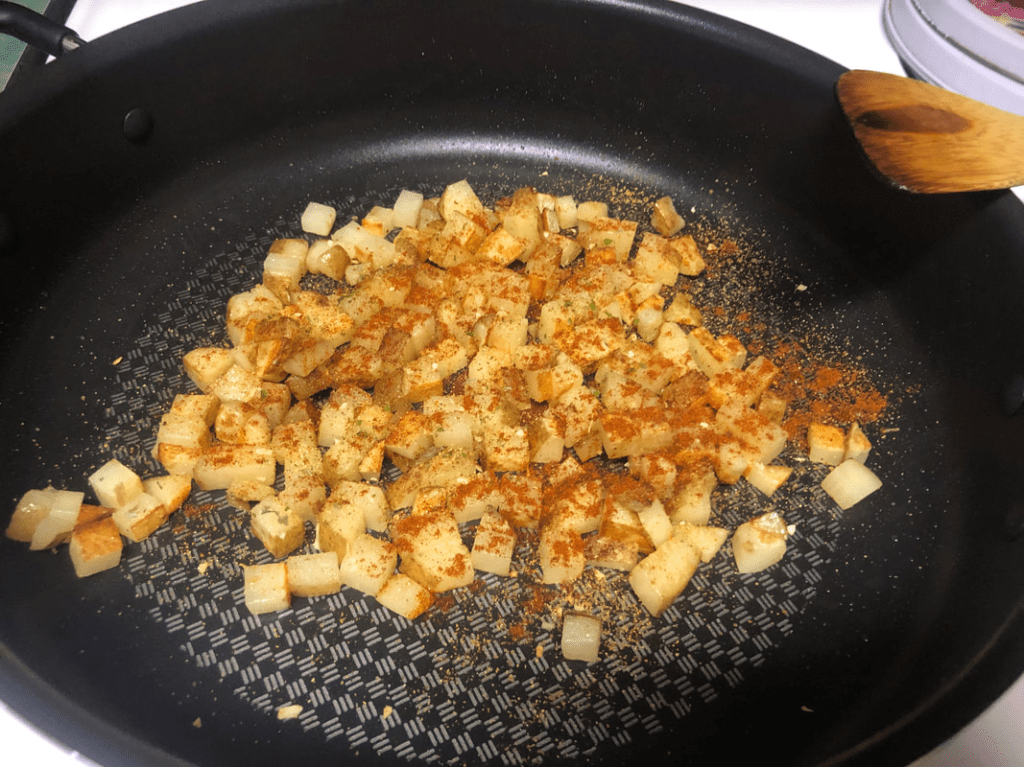
Cook the potatoes until they are crispy (russet should look something like this). The sweet potatoes don’t really crisp up all that much and that’s okay, I don’t really like them crispy anyways, so just cook until they’re done (they usually take a little longer).
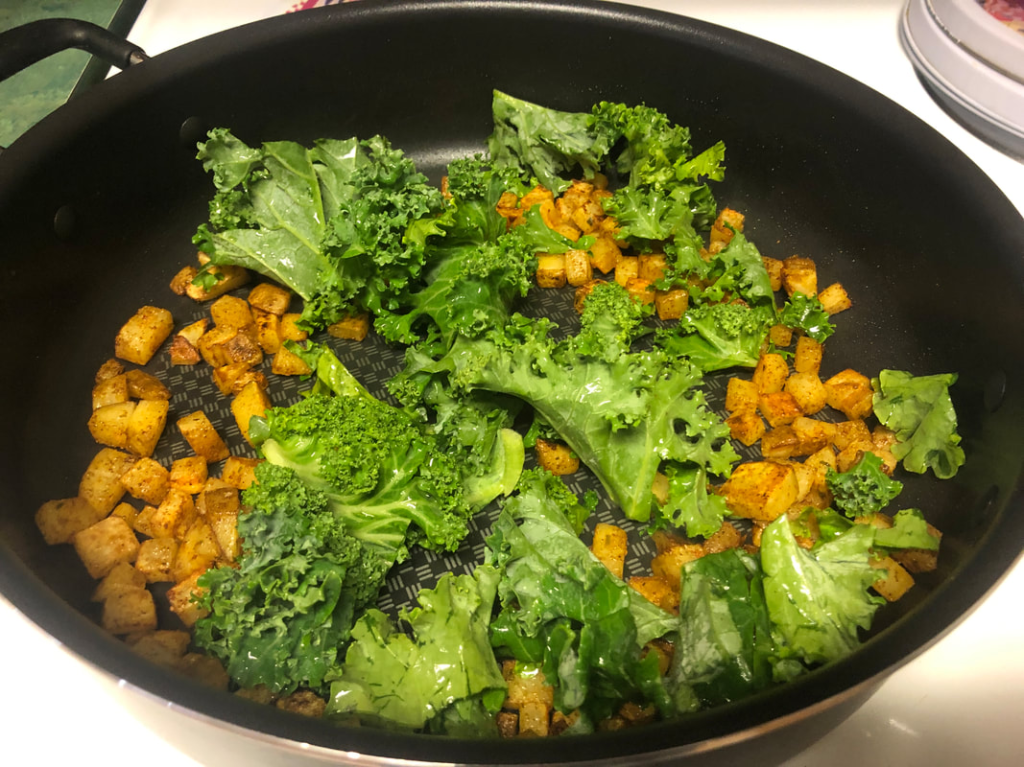
Step 5: Add in your kale.
Toss them until they change colors to a bright green. Don’t worry about cooking them too much because they will continue to cook and wilt.
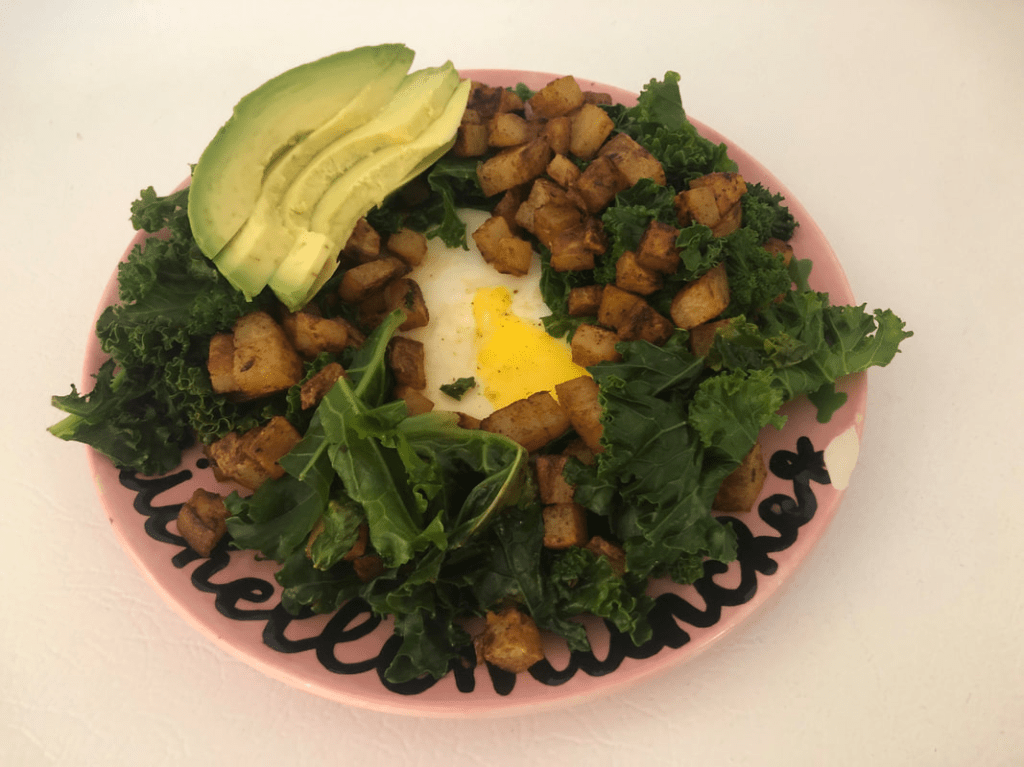
Step 6: Add in egg.
I forgot to take a picture, but you will simply make a hole or two holes for 2 eggs. Let it cook with the lid on to your liking. I personally like my eggs cooked hard and all the way through, so I let it sit longer. Once your egg is cooked, plate, and you’re ready to eat!

Leave a comment